This example shows you different ways to handle Widget attributes: How to get and set attribute values, response to value-changes and set values through Widget parent-child-hierarchies.
We begin by including the header files of classes we need and creating and initializing an instance of our application class. We also read some initial parameters from CSS-file:
attributes.css:
We create our TextExitWidget and add it to main layer:
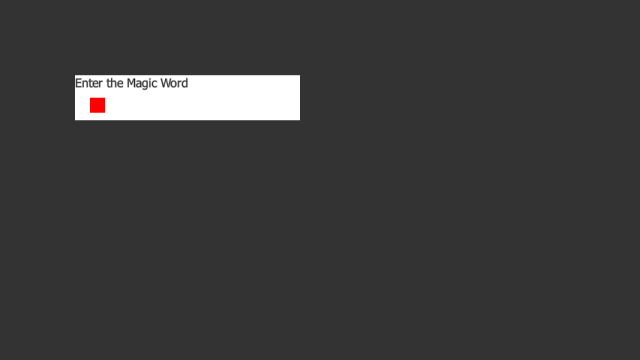
Then we add a child widget to TextEditWidget. This widget is used to indicate when our input to the TextEditWidget is correct. Widget should turn to green when the input is correct and turn to red when it isn't.
Notice that we set widgets initial color to blue. However this color is never shown on the screen because of the attribute listener we create later on.
Widget's text could be easily changed by calling MultiWidgets::TextWidget::setText, but in this example you will see alternative ways to control widget attributes. Through the attributes you can control widgets appearance and behaviour like text, color and text-align. You can even create your own custom attributes which contain some application-specific data.
To be able to change the text value we have to get the attribute first. This is done by calling the Valuable::Node::attribute method. To be able to change the actual value, we have to cast the attribute into proper type, in this case Valuable::AttributeString. Alternative for casting we could just use Valuable::Attribute::asString and Valuable::Attribute::set.
Next we show you a way to use parent-child-relationship to control child widgets attributes. We will create a custom my_child attribute to the parent widget. We set child's widget pointer as attribute value. By using this attribute we can access any of the childs attributes through the parent widget. We will do that later on.
Now to the fun part. We will create a listener which is called every time the text value changes in the TextEditWidget. Callback-function is called when the user changes the value and also when we change the value from code.
We use a Lambda function as an easy way to implement the callback function.
We get the text-attributes value using the Valuable::AttributeString::value method. If the input is correct, we change childWidgets background-color and parentWidgets color attributes to green.
Next we use a bit more complicated usage of the attributes: Parent-child-relationship.
We use the my_child-custom attribute we created earlier on to change the value of the childs background-color -attribute. Notice how we call the parent widgets setValue method instead of the childs. Instead of using Radiant::Color to specify black and red colors, we define the colors with color keywords.
Same way we can use the reference of the child widget to control any of the parents attributes, in this case the color of the TextEditWidget.
Usually it is always better to use the direct method of setting attribute values, but in some cases this parent-child relationship can prove to be very useful.
After adding the listener we can test how it works. We set the initial text to the attribute and the TextEditWidgets text is updated. But that's not all, also the event is triggered for the first time! Remember that we set the initial color of the child widget to blue? By changing the text attribute we get our first callback and the colors are updated.
If we would have changed the text before adding the listener, the initial color would be blue. Colors would have been updated after the user had typed the first letter.
Finally we run the application. Can you guess the Magic Word?!
Full source code can be seen below:

